2. Select EC2 from the Services | set your Region in the drop-down list | Click the Instances link in left side bar.
3. Right click on the instance name. The Instance Management context menu will appear. Select Create Image.

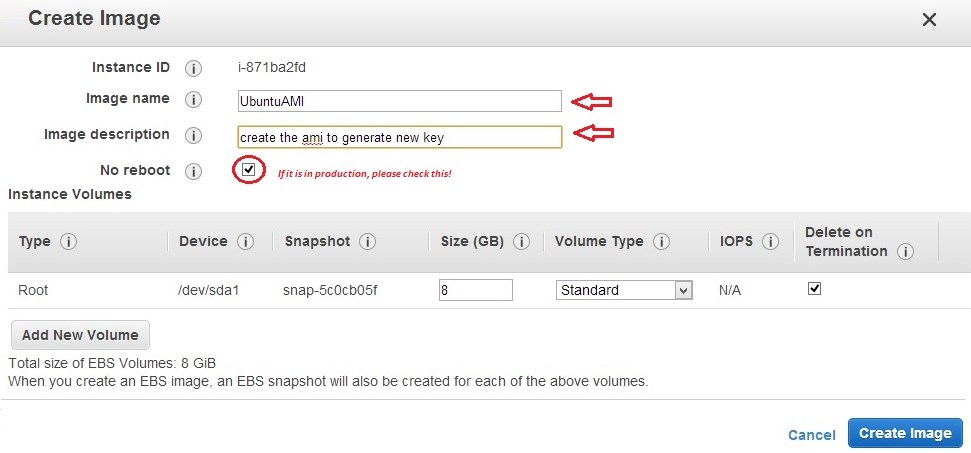
4. Enter the name and description. This is for your use, not Amazon’s.Click the Create Image button. A confirmation message appears. Behind the scene, EBS volume is copied to a snapshot.
5. Find your new AMI. AMI link is in the left navigation bar. Right Click on it and select the Launch (Follow the wizard).

6. In the last step, select the “Create a new key pair” instead of using the existing key pair,provide the name to your key pair and then click Download Key Pair Button.

7. Convert the downloaded key (for Putty use) by using the following Tutorial.
8. Connect to the instance with the converted key and verify your data/setting.

Hope this will help you!
Please Remember me in your prayers!
Michael Kors Bikini
ReplyDeleteI saw this blog through Facebook (one of my friends posted it). After reading, I clicked Like and also reshared it myseld. Anunturi Romania