This tutorial describes that how to configure the OpenVPN Server in CentOS 6.4 and clients in Windows XP/7.
I am taking the scenario of SOHO network, which is protected by Firewall, we’ll implement the OpenVPN on internal CentOS 6.4 server to access the internal SOHO network (Server and PCs) through the internet from anywhere securely.

Before starting this tutorial, we need to install the RPMforge and EPEL repositories:
RPMforge Installation:wget http://packages.sw.be/rpmforge-release/rpmforge-release-0.5.2-2.el6.rf.x86_64.rpm
rpm --import http://apt.sw.be/RPM-GPG-KEY.dag.txt
rpm -K rpmforge-release-0.5.2-2.el6.rf.*.rpm
rpm -i rpmforge-release-0.5.2-2.el6.rf.*.rpm
yum repolist
EPEL Installation:wget http://ftp.riken.jp/Linux/fedora/epel/RPM-GPG-KEY-EPEL-6
wget http://dl.fedoraproject.org/pub/epel/6/x86_64/epel-release-6-8.noarch.rpm
rpm --import RPM-GPG-KEY-EPEL-6
rpm -ivh epel-release-6-8.noarch.rpm
yum repolist
OpenVPN Server Installation:
Install the openvpn package using the following command:
yum install openvpn easy-rsa

Make the openvpn service to start automatically on boot:
chkconfig openvpn on

Make an easy-rsa/keys directory inside /etc/openvpn:
mkdir -p /etc/openvpn/easy-rsa/keys

Copy the default easy-rsa into /etc/openvpn for setting up Certificate Authority (CA), certificates and keys generation for OpenVPN server and clients:
cp -rf /usr/share/easy-rsa/2.0/* /etc/openvpn/easy-rsa

Edit /etc/openvpn/easy-rsa/vars:
cd /etc/openvpn/easy-rsa/
vi vars

Edit these parameters according to your need:
export KEY_COUNTRY="US"
export KEY_PROVINCE="NC"
export KEY_CITY="Winston-Salem"
export KEY_ORG="Example Company"
export KEY_EMAIL="me@example.com"

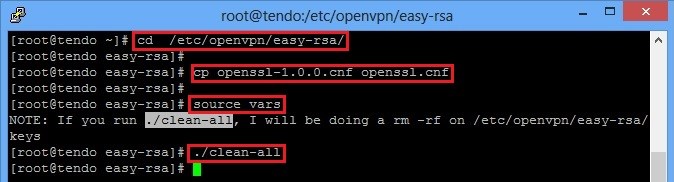
Move to the /etc/openvpn/easy-rsa/ and enter these commands:
cd /etc/openvpn/easy-rsa/
cp openssl-1.0.0.cnf openssl.cnf
source vars
./clean-all

Now, generate the CA certificate and key:
./build-ca

Next, generate a server certificate and private key:
./build-key-server tendo
 Note
Note: tendo is my server name in above command, you can use your server name here.
For OpenVPN server,Diffie Hellman parameters are must:
./build-dh

Copy all the certificates and keys into /etc/openvpn/ from /etc/openvpn/easy-rsa/key/ subdirecotory:
cd keys/
cp ca.crt tendo.crt tendo.key dh1024.pem /etc/openvpn/

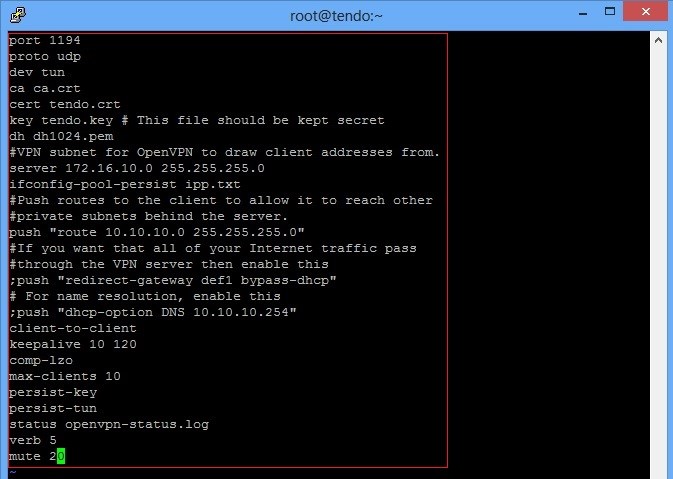
Create a /etc/openvpn/server.conf file and enter the certificates and keys information that we have created above:
vi /etc/openvpn/server.conf

Here is my server.conf file as an example, you can change it according to your requirement:
port 1194
proto udp
dev tun
ca ca.crt
cert tendo.crt
key tendo.key # This file should be kept secret
dh dh1024.pem
#VPN subnet for OpenVPN to draw client addresses from.
server 172.16.10.0 255.255.255.0
ifconfig-pool-persist ipp.txt
#Push routes to the client to allow it to reach other
#private subnets behind the server.
push "route 10.10.10.0 255.255.255.0"
#If you want that all of your Internet traffic pass
#through the VPN server then enable this
;push "redirect-gateway def1 bypass-dhcp"
# For name resolution, enable this
;push "dhcp-option DNS 10.10.10.254"
client-to-client
keepalive 10 120
comp-lzo
max-clients 10
persist-key
persist-tun
status openvpn-status.log
verb 5
mute 20

Now, start the OpenVPN server:
service openvpn start
 Note:
Note: Forward udp port 1194 to your internal OpenVPN server on edge firewall.
Client Certificates:
VPN client also need a certificate to authenticate itself to the server. Using the root user, create the different certificate for each client:
cd /etc/openvpn/easy-rsa/
./build-key rblaptop
 Note
Note: rblaptop is my vpn client name in above command, you can use your client name here.
Copy these files to the client machine using winscp or any other method:
1) /etc/openvpn/ca.crt
2) /etc/openvpn/easy-rsa/keys/rblaptop.crt
3) /etc/openvpn/easy-rsa/keys/rblaptop.key
Your files name will be differ, so adjust them as per your need.
OpenVPN Client Configuration on Windows Machine:
Download free OpenVPN client for windows from
here, and install it. Below is the step by step procedure to configure this OpenVPN client in order to connect to the OpenVPN server that we have configured above:


Check the routing table on client machine:
netstat -r

Ping to the OpenVPN internal ip:

For internal host, the ping will be failed because internal host doesn’t know about this vpn pool. To overcome this problem, we need to configure NAT on OpenVPN server:
Edit the /etc/sysctl.conf file:
vi /etc/sysctl.conf

Enable IP forwarding by changing “net.ipv4.ip_forward” line to 1:
net.ipv4.ip_forward=1

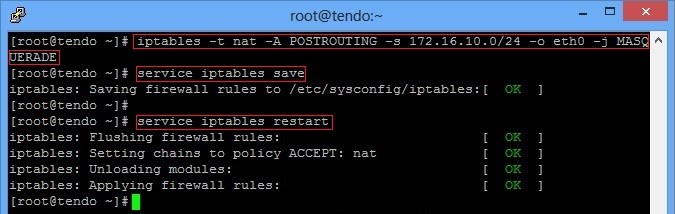
Create an iptables rule to allow the proper routing of VPN subnet.
iptables -t nat -A POSTROUTING -s 172.16.10.0/24 -o eth0 -j MASQUERADE
service iptables save
service iptables restart

Reboot the server or issue this command to load the change:
sysctl -p
Ping to the internal host again:

Success
Hope this will help you!
Please Remember me in your prayers
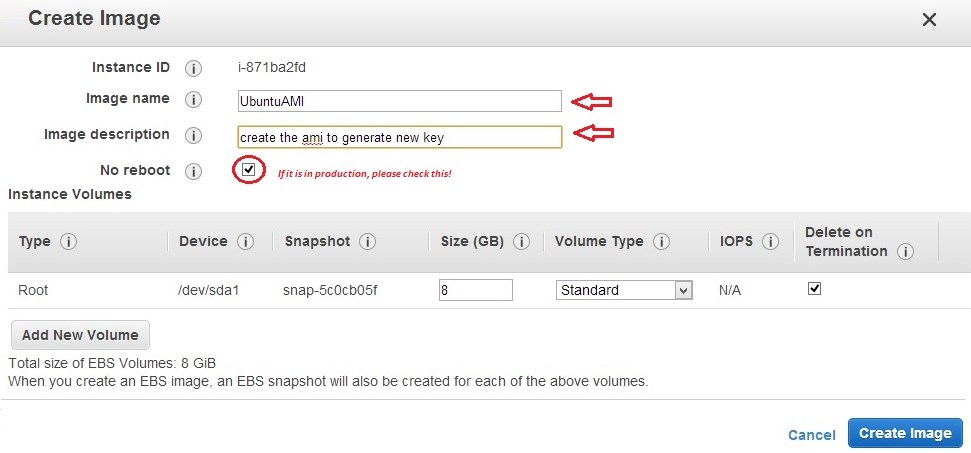
 The current root partition size is ~8 GB.
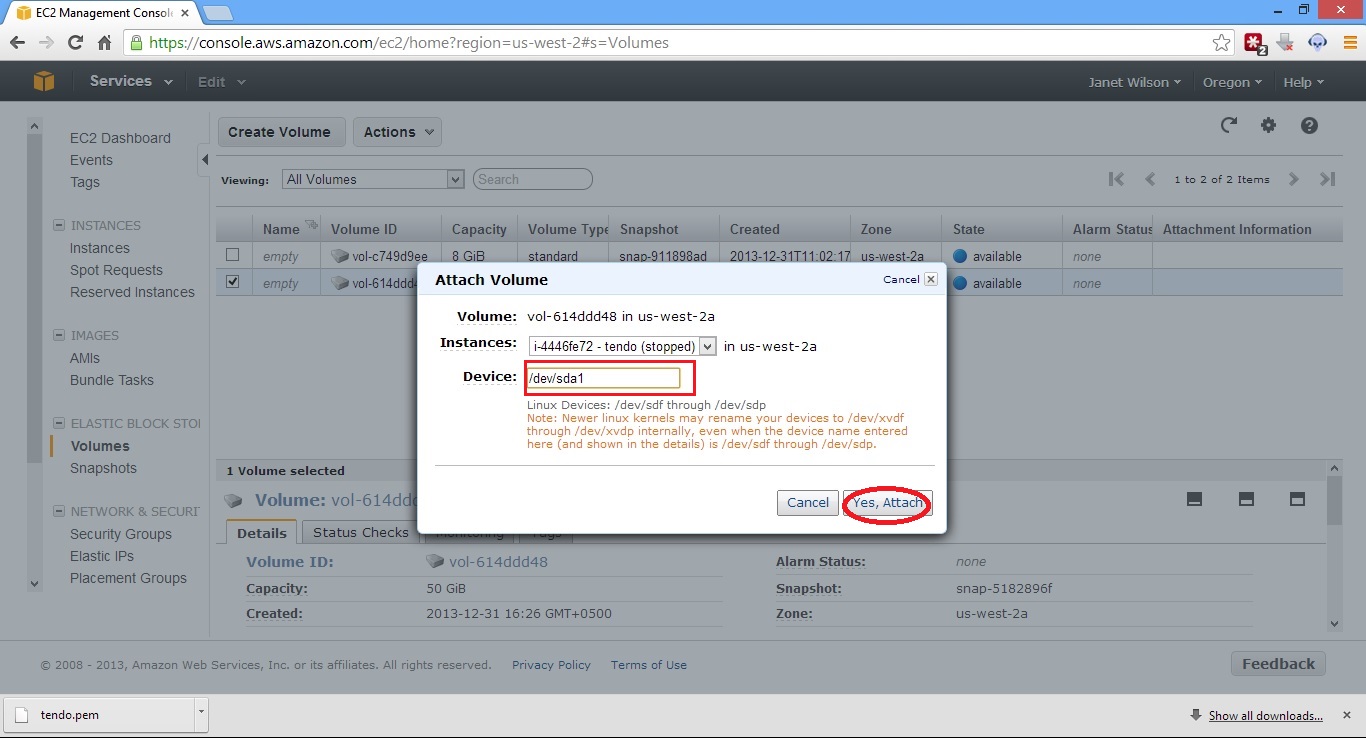
 Note: Make sure you also check the availability zone.